
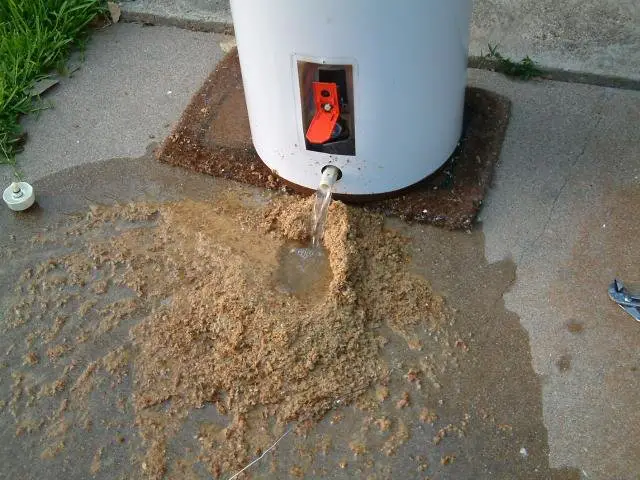
How can one appliance that generates so much heat send cold chills down your spine?
Yes, tucked away somewhere in its private nook, unattended, in perfect solitary confinement sits your water heater and waits. Winter is coming! And liquid destruction is on the agenda. Maybe it is time to get clued up on the maintenance of your water heater.
Well, there are no two ways about it. The fact remains that if your water heater gets regular attention and maintenance, you can rest with ease. No nasty surprises will sneak up on you. You, your family, house, and bank account will be safe!

How to Maintain a Water Heater
The importance of maintaining your water heater is crucial as not to having costly renovations later on. Before you want to be the maintenance king, make sure you know your water heater first. Here are six water heater maintenance tasks that should be done.
| Maintenance Tasks |
Why it Helps |
|---|---|
|
Inspect the water heater every month |
This will help you detect potential problems before they arise and make them easier to fix. |
|
Flush the sediment out of the tank once a year |
Sediment build-up impacts the efficacy of the water heater. Flushing it will improve the quality of heating. |
|
Check anode rod and replace it every four years |
They attracted corrosive minerals to the anode rod so that it doesn’t corrode the tank’s inside. |
|
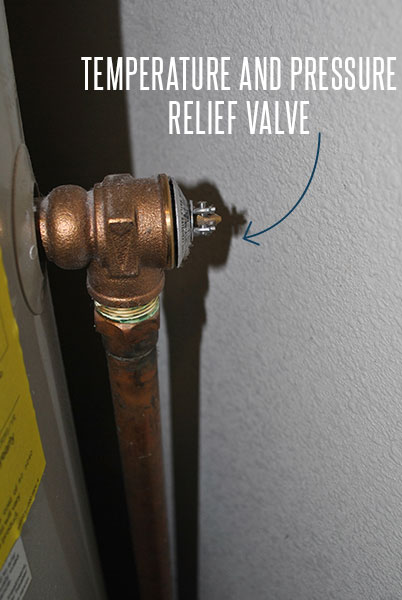
Check the temperature and pressure relief valve and replace it when needed |
When pressure builds up too much, this valve is in place to release pressure within a water heater. You can test the TPR valve by inserting a bucket beneath the discharge pipe connected to the valve. |
|
Inspect the vent system |
Tankless water heaters use air intake filters. These filters keep debris from entering the heater and should be replaced regularly to ensure optimal functionality. |
|
Have a professional do an annual water heater inspection |
Professional maintenance of your water heater can prevent severe issues from occurring. |
Water Heater Maintenance Tasks
When the time has arrived to maintain your water heater, you’ll need to perform a few tasks. We’ll look at each one in detail and what you’ll need.
Inspecting The Water Heater
Tools
- Safety gloves
- Flashlight
Parts
- Usually, when just inspecting the water heater, not any parts are necessary. After the inspection, you will know the needed parts.
Knowledge
- If you feel you do not have enough experience or knowledge on the inspection, instead, get a professional to inspect.

Safety Tips
- Always get a professional to help if you do not know what to do.
- Turn the water heater off overnight to prevent scalding and other heater-related injuries.
Steps
- Check the valves and look for leaks. Make sure the water pressure valve shows the recommended water pressure-40 to 60 psi in the daytime. It should set the temperature and pressure valve according to the manufacturer’s recommendations on its label.
- Flush any sediment build-up. Before you drain the tank, connect a hose to the drain valve.
- Check the anode rod and replace it if needed. Make sure it is not corroded. An anode rod can last up to five years, depending on the water’s hardness and how much water goes through the heater.
- Refill the water heater tank. Close the drain valve and open the cold water supply valve, then open the warm water faucet for about three minutes just to make sure there is no air in the tank before you turn the heater back on again.
- Inspect the vent system. If you have a tankless water heater, you should check the air intake filter. Make sure it is not clogged up and replace it if needed.
Flush the Sediment Out of the Tank
Tools

- Pliers
- Garden hose
Parts
- You do not need any parts for this maintenance as you are merely cleaning the tank.
Knowledge
- Once a year, you should flush the tank as sediment builds up at the bottom of the tank and can cause corrosion, and uses more energy to heat the water. The quality of the water may also be compromised if not flushed yearly.
Safety Tips
- Turn the water heater off overnight to prevent scalding and other heater-related injuries.
- Your water inlet valve should be in the “on” position during this stage.
Steps
- After waiting several hours, You will need to turn off the cold water inlet switch to do this step correctly.
- Next, if possible, go to the floor above where the heater is located and turn the hot water on.
- It is vital that once you have done these steps, that you open the pressure relief valve. If you hear a hissing sound, don’t worry, it is perfectly normal.
- Use a long garden hose to drain the water, connect it to the fixture.
- Let the water drain out of the tank, preferably into the garden or a drain.
- To equalize the pressure, open a hot water faucet.
- Next, open the drain valve to empty the tank.
- Open the water shutoff valve and repeat this step to get all the debris out of the tank.
- The last step is to disconnect the hose and close the drain valve. Fill the tank up again and set your temperature to the desired heat.
Replacing the Anode Rod
Tools
- 1-1/16″ socket wrench or a closed-end wrench and breaker bar or ratchet
- Pipe wrench
- Standard garden hose
- Plumbers tape
Parts
- A new anode rod
Knowledge
- To stop corrosion of your water heater tank, you should replace your anode rod every five years or so.

Safety Tips
- The most important safety tip is to make sure the water heater is turned off and that the unit’s power is also off.
- To prevent damage to the interior of the tank or the rod, be careful not to bang the anode rod or rattle it against the tank. This could break the rod or damage the interior of the tank.
Steps
- Turn off the water supply.
- Using a short hose and a utility bucket, drain the water heater using the water heater drain.
- Using a socket wrench, unscrew the anode rod from the top of the water heater tank.
- Lifting it straight up from the tank, carefully remove the anode rod. Inspect the anode rod. If it is still in good condition, reinstall the rod.
- If the rod is compromised in any way, proceed with the replacement.
- Reconnect all the electrical connections and water supply.
Replace the Temperature and Pressure Relief Valve
Tools
- Pipe wrenches
- Pliers
- Tubing cutter
Parts
- PVC glue
- T&P valve
- Sandpaper
- Discharge tube
- Teflon tape
- Coupling
- Sharkbite fitting
Knowledge
- Should your tank overheat, you have a T&P valve to release pressure. To forestall an explosion, make sure there is a valve and that it is in working condition. Now, this is a worst-case scenario, but that is why the valve is there.
Safety Tips
- The T&P valve is a must – it has to be there!
- Do not install a plastic valve, and it must be made of steel or copper.
- The pressure rating on this valve must match the pressure rating on the water heater.
Steps
- Drain the tank. This is entirely optional.
- Disconnect the discharge line. If you are lucky, your valve might sit on the side of the tank, where you will be able to unscrew the entire line. If that is not the case, you’ll have to cut it with your tubing cutter.
- Be sure to put the wrench on the discharge and one wrench or pliers on the valve to apply opposing pressure. This will help avoid too much pressure on the valve.
- Unscrew the T&P valve from the tank with your pipe wrench.
- Screw in the new valve, wrap the Teflon tape in the opposite direction that you will be screwing to avoid unwrapping.
- Reattach the discharge line with the Sharkbite fitting
- Refill your tank and check for leaks.
Inspect the Vent System

Tools
- Air compressor or water.
Parts
- The only part you might need is a new filter if your old one is uncleanable.
Knowledge
- Cleaning the air filter is very important. When removing the debris from the filter, the vent will work in optimal condition.
Safety Tips
- Turn off gas/pilot light. You do not want any dust flowing into your heater while cleaning, so shut off the gas flow first. Don’t use force here, as this is quite simple and delicate to do.
Steps
- A simple catching mechanism keeps the filter in place. Simply undo it, and remove it from your heater’s bottom.
- To clean your filter, you can use compressed air to blow away the dust. If you don’t have an air compressor, then layout your filter on the ground, and then spray with water, hang your filter to dry, or wipe it down with a cloth.
- Using the grasping mechanism at the bottom, secure your filter underneath your water filter once your filter is dry. Make sure all sides are sitting correctly without any gaps to allow dust through.
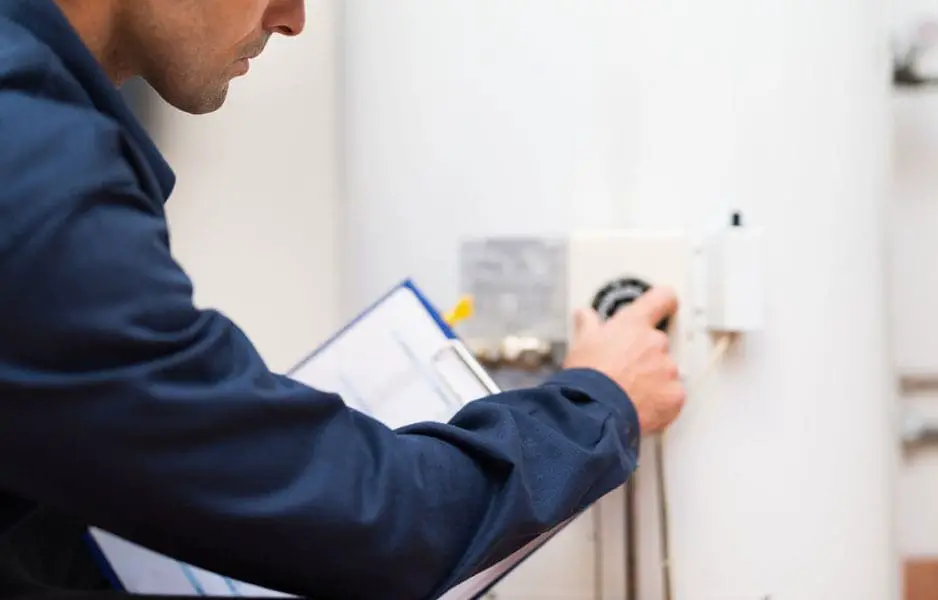
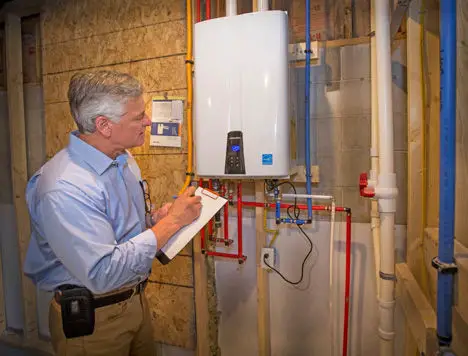
Have a Professional Do an Annual Water Heater Inspection
The final option is hiring a professional to perform an annual inspection for you. It’ll save you the labor and will be a lot safer. They may charge you a large amount, though.
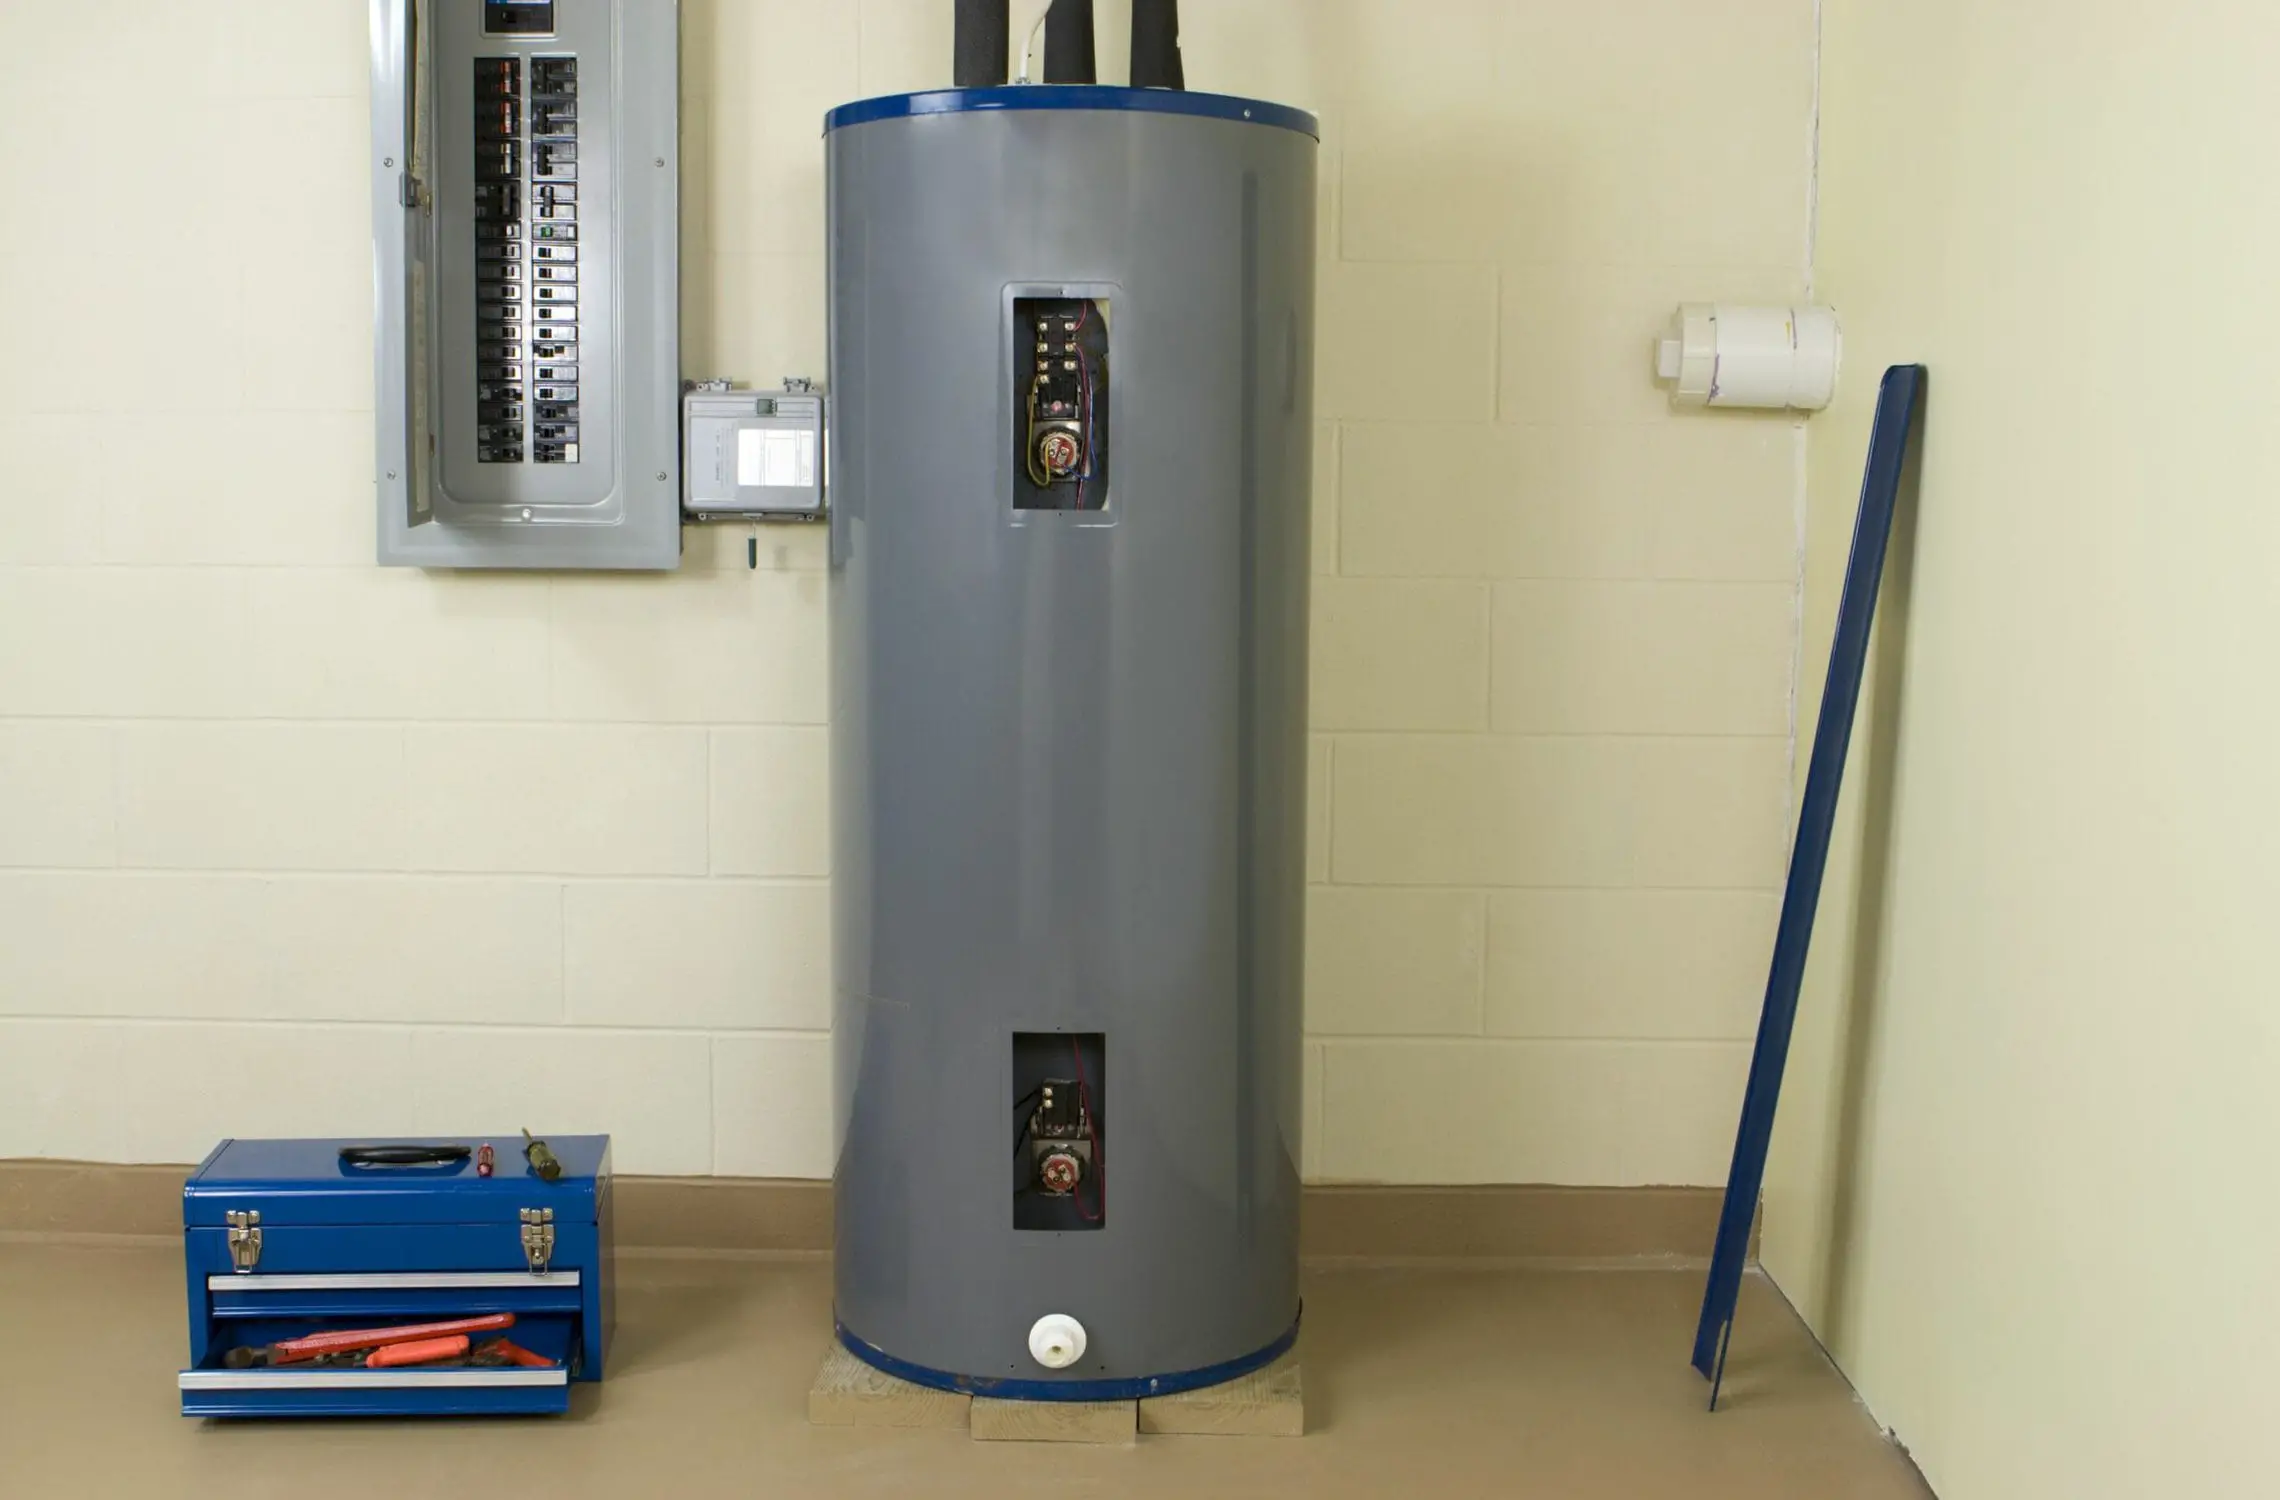
How to Maintain an Electric Water Heater
There are only nine steps to take in maintaining your electric water heater. Make sure the breakers aren’t tripped in the main electrical panel when an electric water heater stops producing hot water.
- Next, on the thermostat, check the emergency cut-off switch. You can reset it by pressing it in if the button is popped out.
- First, turn off the electricity to the heater if you want to test the heating element. Then, remove the access panel to find the end of the heating element.
- Disconnect the two wires after loosening the two screws on the element.
- With a continuity tester, touch each of the screw terminals. If the tester doesn’t light up, the heating element must be replaced.
- Drain the water tank and loosen and remove the water heater’s heating element.
- Thread the new heating element into the water heater and tighten it.
- Unscrew the old thermostat from the side of the heater and replace it with a new one.
- Fill the tank with water and turn the electricity back on.
How to Maintain a Gas Water Heater
Before replacement is required, most gas water heaters will last 12 to 15 years. Here are some simple water heater maintenance tips that can help prolong your gas water heater’s life.
- Check that your thermostat is at 120 degrees Fahrenheit, which is the recommended heat.
- Test the pressure relief valve annually.
- Annually flush out sediment in the tank.
- Check the anode rod every three years.
How to Maintain a Tankless Water Heater
You have to maintain, clean, and flush your water heater at least once a year as minerals can build up and erode the tank’s heating chamber over time.
- The tankless water heater’s power source should be turned off.
- Close the three water valves attached to your tankless water heater.
- Located on cold and hot water valves, slowly remove the purge port valve caps from the valves.
- Attach the three valves to your hosing lines.
- Perpendicularly twist the purge port valves to the cold and hot valves’ position to open them.
- Instead of chemicals, you can use 2.5 gallons of undiluted white vinegar to clean your tankless water heater.
- The manufacturer’s directions of your tankless water heater should always be followed when flushing and draining.
- When the flushing has been done, twist the “T”- shaped handles to close the purge port valves. The hosing lines can now be disconnected from each water valve.
- Replace the purge port valve caps and restart your water heater. Turn on the hot water faucet to allow the air to pass through the pipe.
Conclusion
To maintain your water heater is not rocket science but if you feel more comfortable with a professional maintaining it -go for it! But if you are going to do it yourself, remember to switch off all electricity, let the tank cool, give the tank a good draining, and check every three to five years if your anode rod is still functioning.
If you follow these basic rules, your water heater will stay in tip-top condition, and you won’t have any sleepless nights over water heater accidents.
People Also Ask
We have covered enormous amounts of information on the maintenance, but here are three questions people frequently ask about water heater maintenance. These might be helpful answers for you.
In terms of repairs and maintenance, the professionals recommend having your water heater flushed out a minimum of once each year.
Older models, unfortunately, do not have today’s better technology designs. They still need regular maintenance to prolong their lives. Your gas water heater can last up to 8-12 years, and an electric water heater anywhere from 10-15 years if you inspect, drain, and flush regularly.
If you’re simply going through routine servicing, there isn’t any need to call a professional to complete the job for you. With a screwdriver and a bucket, a homeowner can usually complete the servicing independently. But if you do not feel confident enough to do it yourself, call a professional to help you out.