
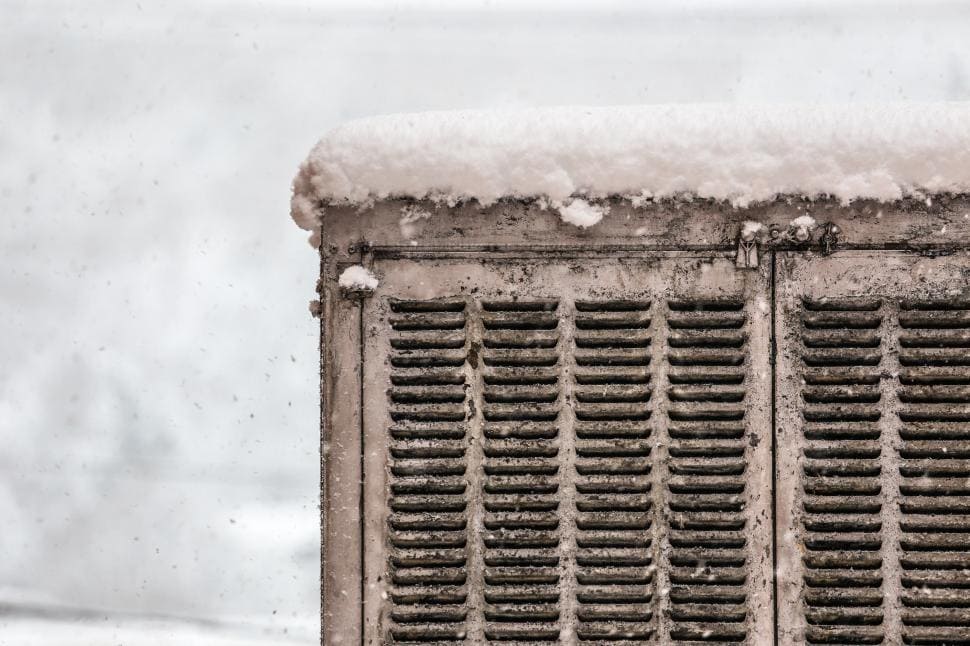
Winterizing a swamp cooler refers to getting it ready for the winter months, where it will not be used. It can also prevent issues such as broken pipes, rust, and mold from appearing in your cooler.
Your swamp cooler is an investment for your home and should be cared for carefully. The better you maintain it, the longer the cooler will last you without issues. They are cheaper to run than traditional air conditioning due to their increased energy efficiency.
To keep the cooler in optimum condition you should take care to winterize it properly before the first frost hits.
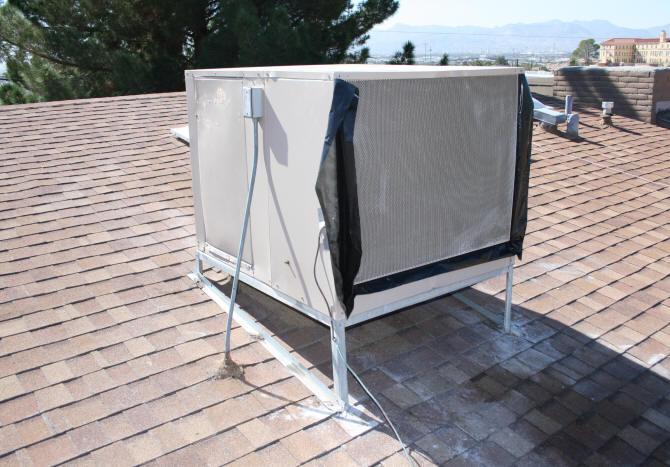
Photo credit: laurellynn.com
Why is it Important to Winterize Your Swamp Cooler?
Winterizing your swamp cooler helps to prevent it from becoming damaged during the winter months. If you do not do this and leave the cooler damp, it can corrode or rust. These can cause irreparable damage to your cooler.
Even if the damage caused is not irreparable, it is likely to be very costly.
Winterizing your swamp cooler can help to save you money over time. It will also help to prolong its lifespan.
The warranty terms for many swamp coolers specify that the cooler is properly maintained. If you do not winterize your swamp cooler, this could potentially void your warranty.
How to Winterize Your Swamp Cooler
There are a few steps to take to ensure your cooler is ready for the cold.
1. Unplug Your Cooler
As you are unlikely to be using your swamp cooler for a few months, we advise cutting the power to it completely.
On the off chance something malfunctions, this could save your life. When you need to use it again it is just a case of plugging it back in.

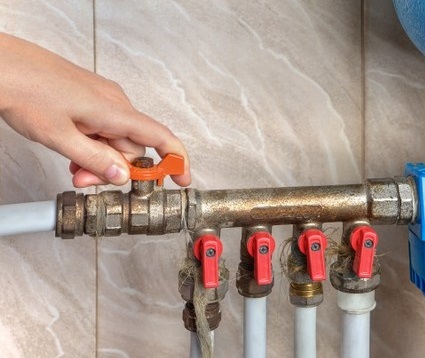
2. Shut off the Water Supply Valve
If you live in a climate where temperatures drop severely, it is a good idea to shut off the water supply valve. This will prevent water from entering your swamp cooler and stagnating in the tank.
At this point, you should also drain your water line. This will prevent the pipes from freezing as the temperatures drop. Frozen pipes commonly burst, so spending 5 minutes doing this could potentially save you a lot of money.
To drain the water line, detach the hose at both ends. Blow firmly into one end to force out any remaining water. Store in a cool and dry place.
3. Drain the Water Tank
Water expands when it freezes and if your temperature is very low the tank can freeze. More commonly though, the reason for draining the tank is to prevent the water from stagnating.
When water becomes stagnant it can begin to smell musty. This is not the smell you want to be pushed through your home so it is important to care for your water tank well.
This can also encourage bacterial growth on the filter of your swamp cooler. This can be harmful to your health and can spread bacteria around your house.
Use pliers or a wrench to open the drain at the base of the tank. If you cannot do this, use a cup to empty the tank slowly. Soak up any remaining water with absorbent towels or sponges.
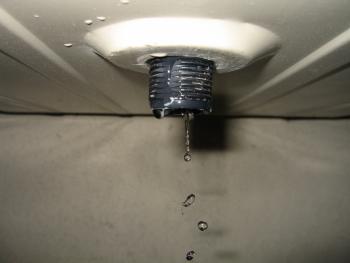
Photo credit: adventuresindiy.com
You should take this opportunity to clean the inside of your tank. Scrub the interior of the cooler with a stiff-bristled brush and hoover up the debris that comes loose.
Clean the interior with white vinegar and warm water. Rinse well and rub dry with a cloth. We advise leaving the drain open in case any water enters the tank while it is not in use.
If there is a lot of limescale buildup on the float and pump, we recommend soaking them in white vinegar overnight.
4. Change Your Evaporating Cooling Pads
This is not a vital stage, as it can be done when cleaning your swamp cooler before you next use it. However, replacing them now can help to reduce rust build-up. The future version of yourself will be so happy to see it done already.
If you have not replaced the cooling pads before, you may need to use garden shears or large scissors to cut the pads away from the frame. Pull them out and use them as a guide to cut some new replacement pads. Insert the new pads where the old ones sat.
5. Cover Your Cooler
We suggest buying a swamp cooler cover when you buy the cooler itself. During the winter months, it is a good idea to cover the cooler. You should ensure that your cover fits tightly and has ties. This will allow you to secure it against the elements.
This is because it prevents cold air from the outside from blowing into your home and creating a draught. You should also check to see if your cooler has a damper. This is a closable section that stops warm air from the house from escaping through the ducting.

Photo credit: hvachowto.com
Note:
You should not attempt to operate a swamp cooler once it has been winterized. This is because it can cause a lot of damage to the internal components of your cooler if it is reactivated incorrectly.
The general advice is to wait for 2 consecutive weeks of temperatures above freezing before reactivating your swamp cooler. Try not to switch it back on too early in case of a snap freeze in the spring.
If you do not feel safe climbing onto the roof or do not feel capable of shutting down your swamp cooler by yourself, we strongly recommend hiring a professional.
Other Related Content
Here is some other content that might interest you. :