
When installing your own air conditioner (AC), things can get tricky or messy.
As the saying goes, “Where there’s a will, there’s a way.”
Luckily, there're many examples from DIY enthusiasts and professionals alike to guide you.
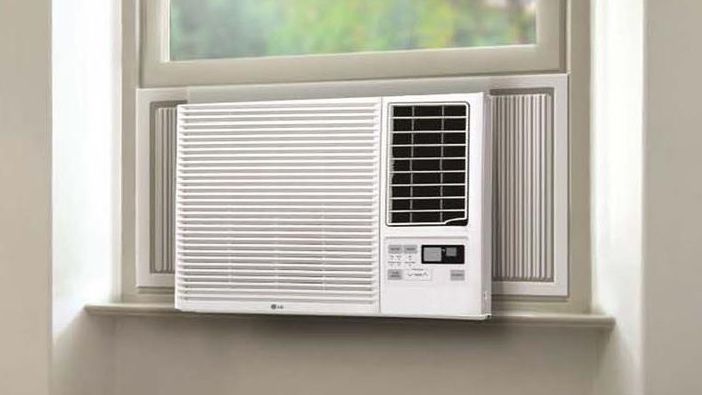
Photo credit: thegadgetshow.com
Quick Questions Before Starting
The hard part is choosing which AC you want to install. Now that you’ve done that, how easy is it to install the AC yourself?
How Difficult is This to Do?
The task may be easy for most DIY enthusiasts since manufacturers usually include all the necessary parts for installing your AC unit. There should be safety items as part of your installation, such as a window stopper.
How Long Does it Take?
It can take most people around an hour and a half to install and start using the AC.
How Much Do Materials Cost?
A decent support bracket will cost around $100.
Items Needed to Install a Window Air Conditioner Without Screws
An easy cost effective installation can quickly go wrong without the right tools or products. To get a professional finish, you’ll need:
- Screwdriver. You can pick up a neat little multi-bit screwdriver set for around $11.99 from most hardware stores. Stanley makes a decent one.
- Measuring tape. Any will do; prices start around $10.00.
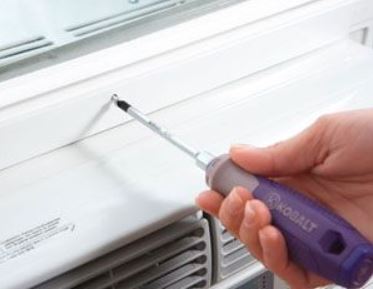
Photo credit: lowes.com
- Weatherstrips. Most AC manufacturers will include the correct weather strips.
- Support brackets (aftermarket). The Black + Decker BAB-2438 retails for $105.00 from Amazon, excluding shipping.
- An assistant, if you can find someone to help you.
How to Install a Window Air Conditioner Without Screws
Installing a window AC without screws is possible, but take note the AC itself will have screws that may need tensioning. The idea of installing without screws is to minimize damage to your window frame or sill.
Here is how to get the job done.
1. Choose Your AC Unit Accordingly
Choose a unit recommended by the US Department of Energy with an energy efficiency rating of more than 10. The British Thermal Unit (BTU) rating will depend on the size of the room you are trying to cool; you can find this rating on the manufacturer's packaging.
If the BTU is not high enough for the size of the room, it’ll run for prolonged periods without adequately cooling the space. If the unit is too powerful, it could lead to an uneven temperature throughout the space, and it won’t run long enough to reduce the room's humidity.
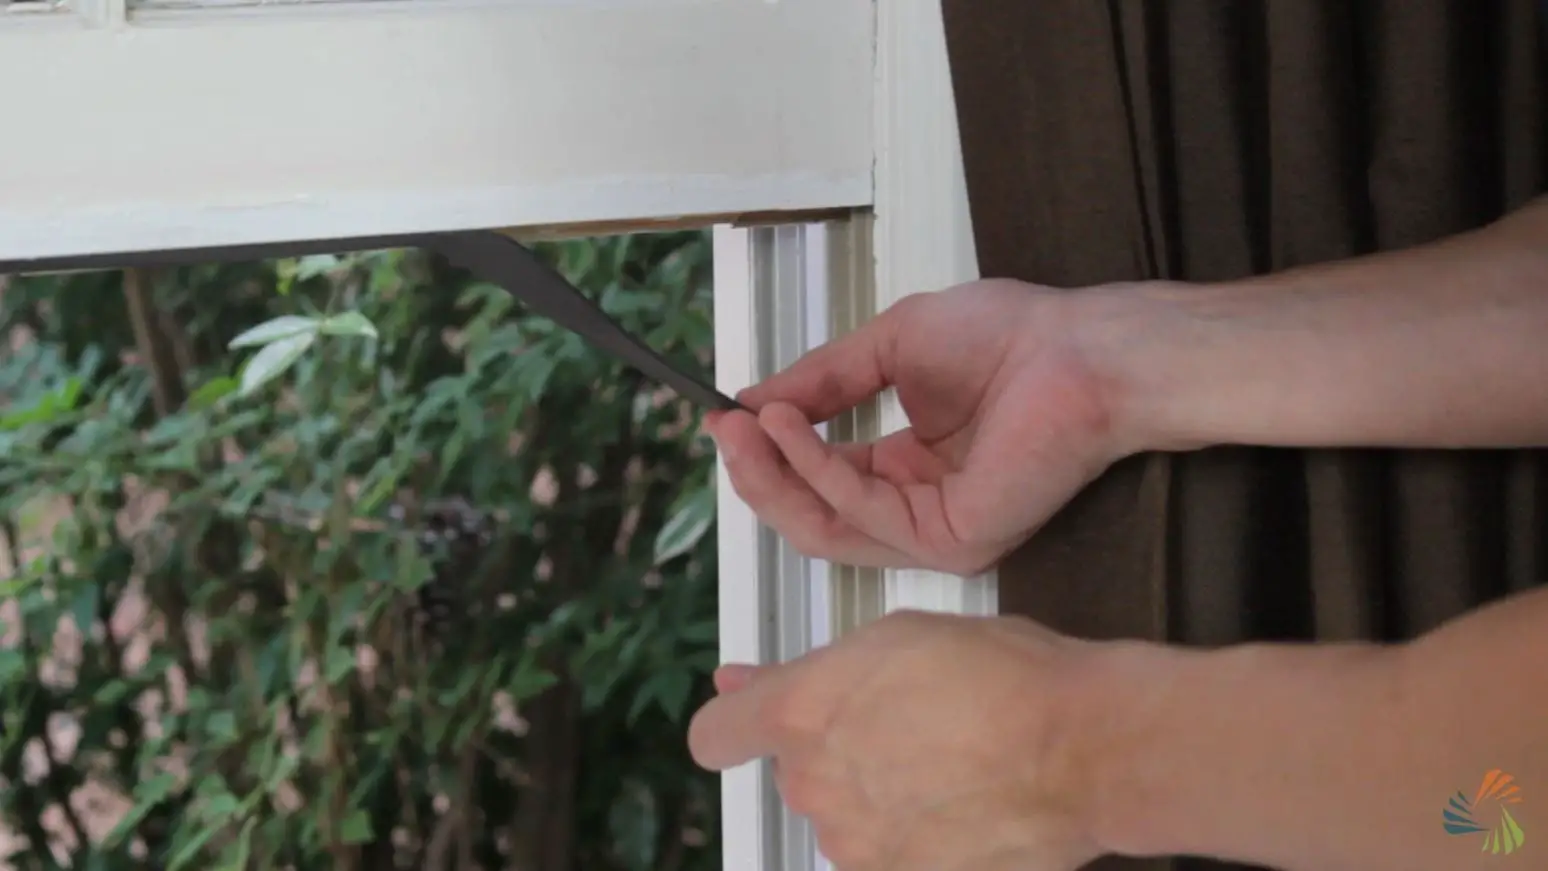
Photo credit: sylvane.com
2. Prepare Your Work Area
Find the central points of the AC and your window sill, and mark them. These two marks should line up in the installation.
You can now use the weather strips provided to seal around the window. Seal all the contact points and the window frame to prevent air from getting into the room through gaps between the window frame and the AC unit.
3. Prepare Your AC & Side Panels
As with any purchase, check your instructions and provided parts to ensure the correct and safe installation. Most manufactures will provide you with adjustable side panels. You’ll need to install these to the desired width and then fasten them by tensioning the screws to the AC unit.
4. Install Your Aftermarket Support Bracket
Depending on the area you live in, a support bracket may be compulsory. For the sake of safety and a screw-less installation, we recommend purchasing a quality one like the Black+Decker BAB-2438.
This product is adjustable and connects to your window sill by hooking onto its inside and supporting the platform on the outside of the wall. You must also check your unit's tilt, which for most manufacturers is about 1 1/2 inches.
Tilt the unit toward the outside so that it will keep any condensation in the unit's drip tray to avoid any damage to walls and floors or avoid a simply unsightly or annoying drip outside.
5. Place Your AC Unit
With the work area and AC unit prepared, it’s time to install the AC unit. You’ll need your assistant for this step. Line up the center marks made earlier on the window sill and AC unit. Once aligned, the window can be closed onto the AC unit securing it in place.
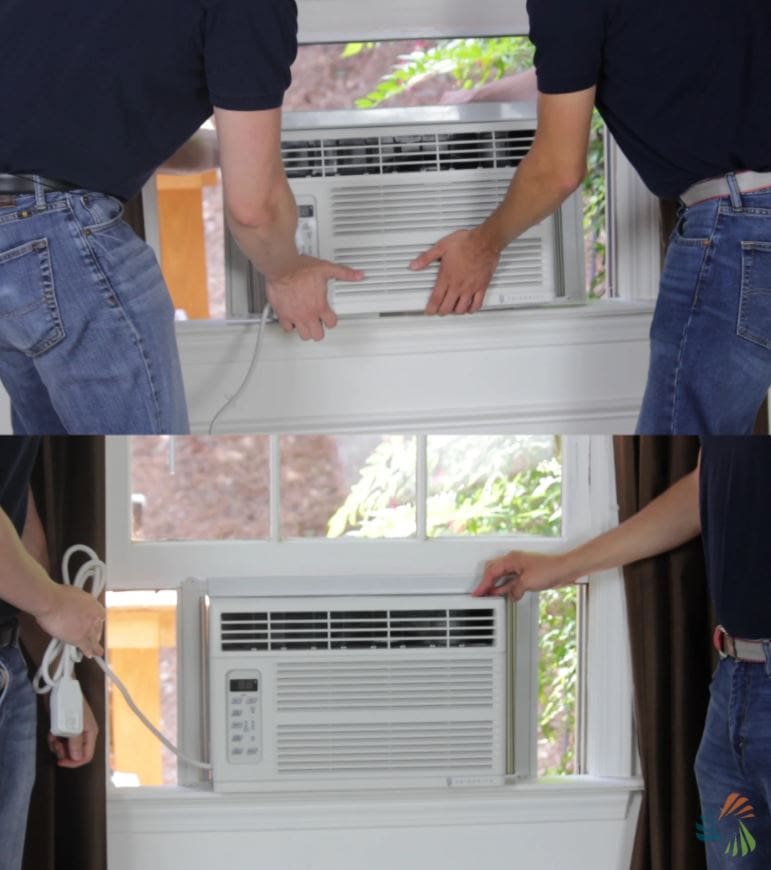
Photo credit: sylvane.com
Ensure that the window is behind the AC unit's frame; failure to do so will result in an unsecured AC installation. Next, extend the side panels all the way out until they seal up against the weather seal installed on the window frame. This seal is more than sufficient to prevent any loss of cool air.
6. Connecting Your AC
Typically, the power cord provided with most window AC units is 6-9 feet. If this isn’t enough to reach the outlet, it would be best to extend or replace the actual power cord of the AC unit, keeping your AC permanently connected rather than using a temporary extension cord.
A 12-gauge wire should be the safest option considering the power drops after the unit's start-up. It’s the best option to prevent the poor performance of your AC.
If replacing the power cord of your AC affects the product's guarantee, install a new outlet closer to your window AC. This could cost anywhere between $100.00 and $250.00.
Tips and Safety Considerations When Installing a Window Air Conditioner Without Screws
Safety
Check local laws regarding installation and support. If you stay in a high-rise building, local laws may stipulate extra support for AC units. Checking with your local authority and installing the first time correctly will save you a lot of trouble.
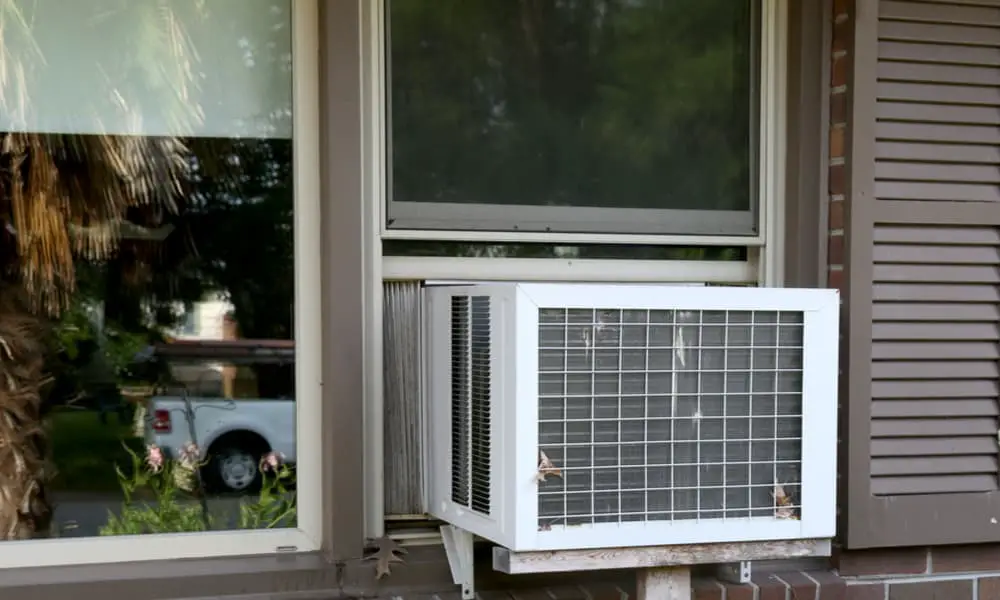
Photo credit: wcmanet.org
Use a Quality Support System
Using good quality support and installing at the correct tilt aids efficiency of your AC and saves you money.
Dropping Hazard
Don’t use loose objects to support the AC unit; this only leads to a higher risk of falling objects. Never open the window unless for a scheduled service.
No Shoddy Power Supply
Make sure to connect the power appropriately to avoid fire hazards or malfunctions. If you need to extend the power cord, do so with the same grade cordage. You could also replace the cord. Adding a new outlet is also an option.
Conclusion
Installing an AC without screws is possible, though a few things have to be considered throughout.
Saving Money
As with any home DIY project, saving money is a bonus. Proper installation leads to your AC running more efficiently for much longer and lessens the chance of having to replace parts.
Safety Standards
Following the correct safety tips and instructions is paramount to avoiding an unexpected injury or damage to property. Have an assistant help you during your installation, and make sure you use all the manufacturer's parts.
Maintaining Your AC
After your installation, maintenance will be your only concern.
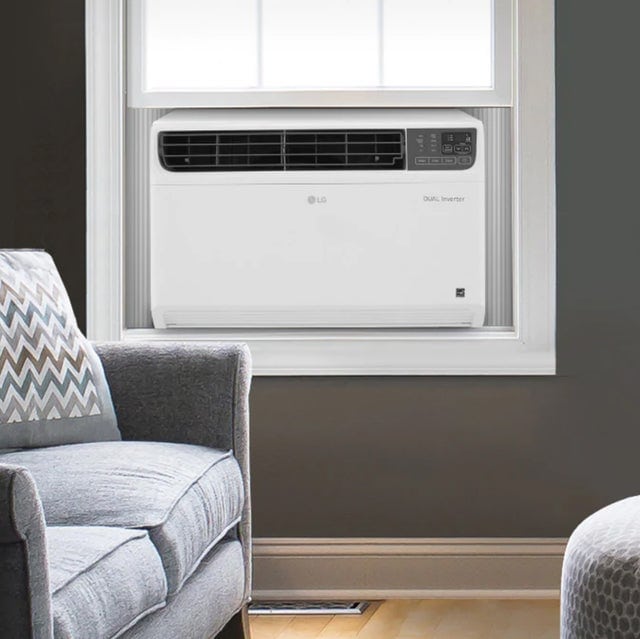
Photo credit: bestproducts.com
People Also Ask
Installing anything without screws sounds quite daunting. Enough research and planning will help you achieve your desired result.
How Can I Secure My Air Conditioner Without Screws?
The safest way is to use a supporting bracket; hook it to the inside of the window sill and let gravity do the rest. Having this bracket will no doubt make the AC unit installation much safer.
Can I Install an Air Conditioner Myself?
You don’t need a professional contractor to install your AC, but you’ll need help to do it safely. If you choose not to use a support bracket, the AC unit's risk of falling out of the window is far greater.